One Room Challenge Week 2: Reupholstering My Red Sofa

We’re back!
The One Room Challenge launched last week and I have loved the opportunity to connect with other creatives and doers already. But now that we’re cracking into week two, I owe you all an update on how the week has faired.
If you need a quick re-cap on what exactly I am talking about and what. my plan is, you can see my Week One Update here.
Week One Recap
As you may recall from my previous post, I am looking to update my living room in 8 weeks, starting with re-upholstering my sofa. I have some upholstery experience, but really just enough to know how to staple fabric, sew piping, and as of this year I can now sew a zipper with relative confidence. So you know…not nothing but not exactly everything.

Selecting The Right Color and Material
Of course before I could recover the sofa, I needed to make some decisions on what would be the best color and material for this room. I knew I wanted an unfussy material that could handle coffee spills or any other means of careless living. I was also open to a dark color. There is just something that puts me at ease about sitting on a dark sofa that makes me feel like I truly don’t have to be precious about staining the material or anything like that. The current red fabric is Crypton, and based on its 20+ years of life with absolutely no stain or blemish to speak of, I felt pretty good about continuing with a Crypton fabric in a different color.

Frankly, the red was too distracting to have in the background as I picked out swatches, so I draped it off with sheets and blankets and I have to say that it felt wonderful to actually see light bouncing off of the sofa instead of absorbing it. So despite my 30+ navy and charcoal options, I ended up going with a light, warm, grey that reflects light well but is also resistant to spills and stains.
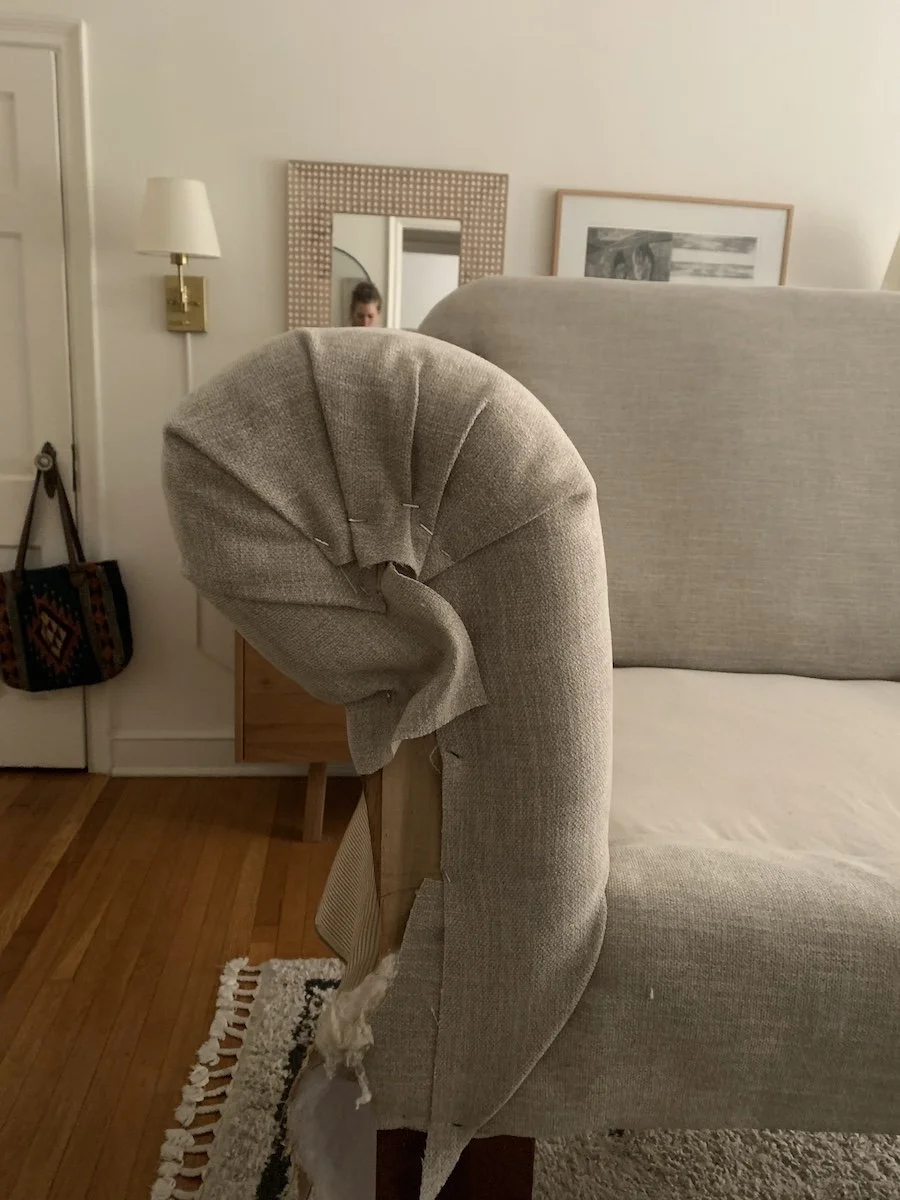
Removing the Fabric and Improving the Base

After a full day of removing staples and a fun yet somewhat grueling evening of cutting out 16 yards of fabric, it was time to give the sofa base a little more attention. While it was for the most part in excellent condition, it was developing a creak and squeak when you sat down or leaned against the arms. Fortunately, a few screws, wood glue, and staples ironed out the issues fairly easily. I also took this opportunity to add as much extra batting as I could to the arms so they were back to their ideal, fluffy state.
The Set-Up


I gotta say, I love my set-up here! After a quick move of the coffee table, we can set the sofa up on our saw horses and I’m good for the day to work on the sofa without too much awkward hunching. A few minutes of effort at the end of the day allows us to keep using our living room and relax at the end of the day.
The Color Reveal and Some Progress

I assume the play by play on how each step has come about is not particularly interesting to read, so maybe just a few photos of my progress up to this point will suffice. I’m also trying to do my best to not advise on how to do something while I am still actively learning, so this is probably not the place for technical advice from me. However, I watched a lot of Facelift Interiors YouTube channel and found them to be very helpful and entertaining.

And here is where I leave it for my Week 2 update of the Fall 2024 One Room Challenge! This next week I will finish the exterior of the sofa and the cushions. I have really enjoyed the upholstery process up to this point, but am really looking forward to put my hand to the more fun and artful details soon.
Thanks for following along!
-Aimee